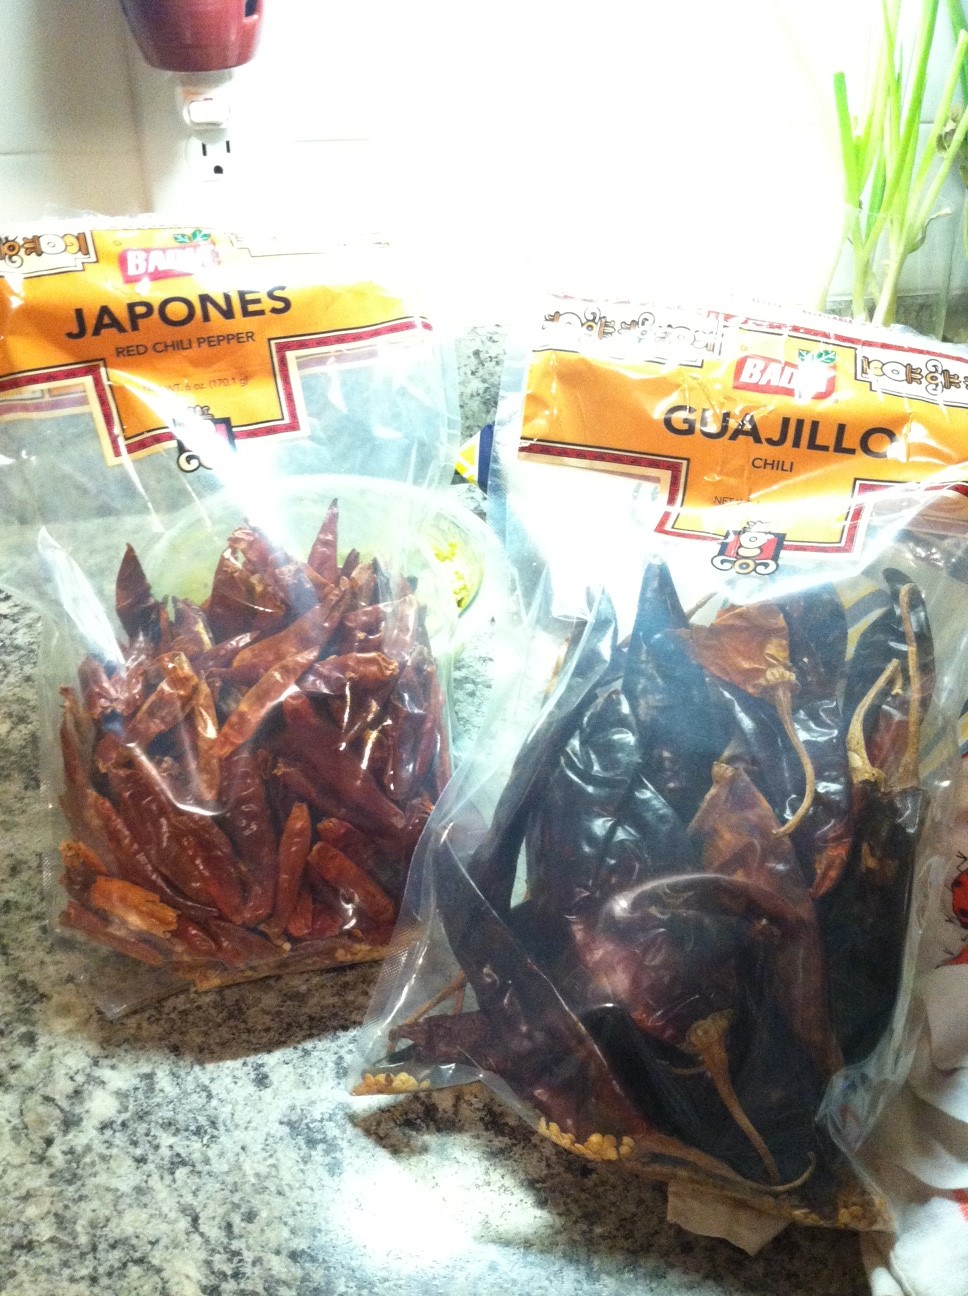
I’m excited to share with you all three different ways to approach one ingredient: local, pasture-raised beef. This will be the first time I’ve featured beef on the blog, so hold on to your steak knives! Actually, don’t. I’m not going to be discussing steaks. Sorry, you’re on your own there. The beef used in all of these recipes came from Windhaven Farm in Windsor, VA. They raise “Natural, Angus Beef” and here is how they describe it (from their website):
“Natural beef is a healthy and safe choice of quality beef. The cattle are birthed on our farm. We do not receive feed stock from unknown sources. Our farm does not mass produce cattle. The cattle are antibiotic free and do not receive growth hormones. The cattle are fed 100% grass, hay, and grain. Therefore the cattle are healthier and leaner resulting in lean, healthy beef. Natural means: No antibiotics, hormones, ionophores, or medicated feeds No feeding of animal by-products. Grass fed, grain finished – grain is used to help “finish” and marble the beef. All natural from birth. Parasiticides are not used within 30 days of slaughter date.”
You can also purchase completely grass-fed beef from them in 1/4, 1/2 or whole packages. Yes, that means 1/4, 1/2 or a WHOLE COW. I know lots of cross-fitters (paleo dieters) that go in on entire cows together, and it actually works out to be a great deal, if you have the room to store even a small portion of an entire cow. I do not. So I usually order their beef in completely reasonable increments, like you know, a pound of ground beef. Their beef is available for pick up at their farm, or through Coastal Farms Co-op and at a few retail stores in Hampton Roads like Heritage Natural Market. They also do occasional deliveries around the area.
The weather is really cooling down around here and a lot of the farmers markets have stopped for the season and while there is still lots of produce to be found if you’re willing to look for it, it is definitely starting to feel like hearty-food weather. So here are three great options to satisfy your cool-weather cravings:
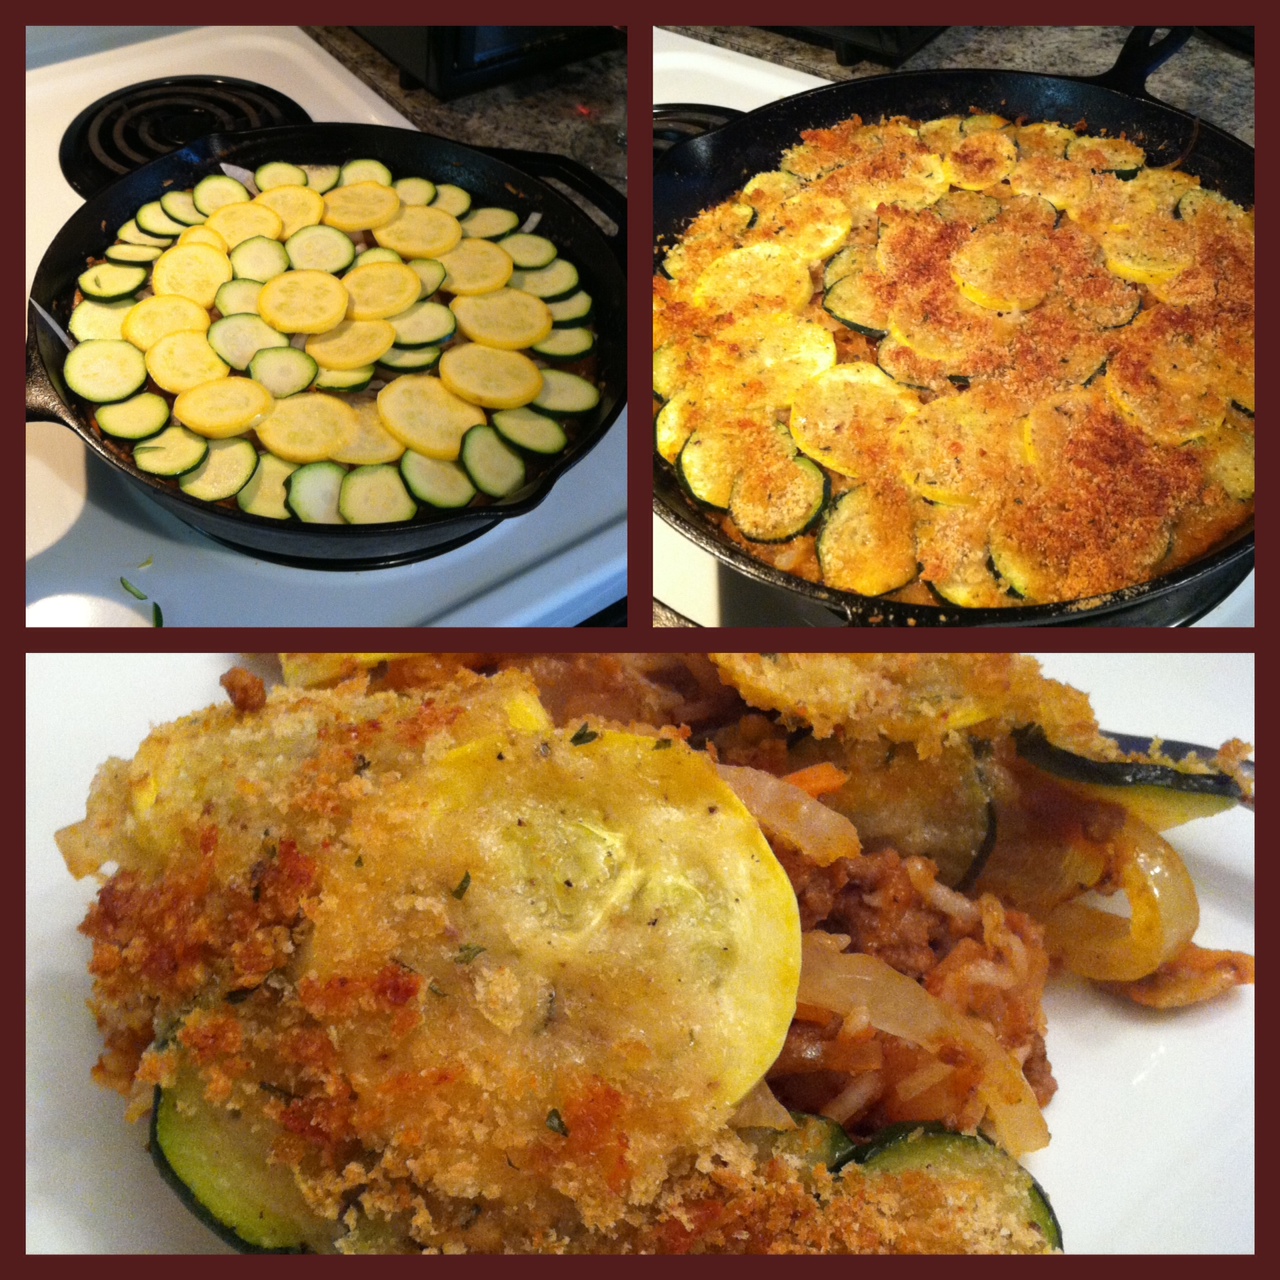
Beef and rice skillet with late-summer veggies
Meat Sauce:
Ingredients:
- 1 1/2 tsp. olive oil
- 1 pound ground beef
- 1/2 medium yellow onion, diced small
- 2 carrots, shredded
- 2 cloves garlic, roughly chopped
- Salt and pepper
- 1 can (28 oz) whole peeled tomatoes, pureed in a blender
Directions:
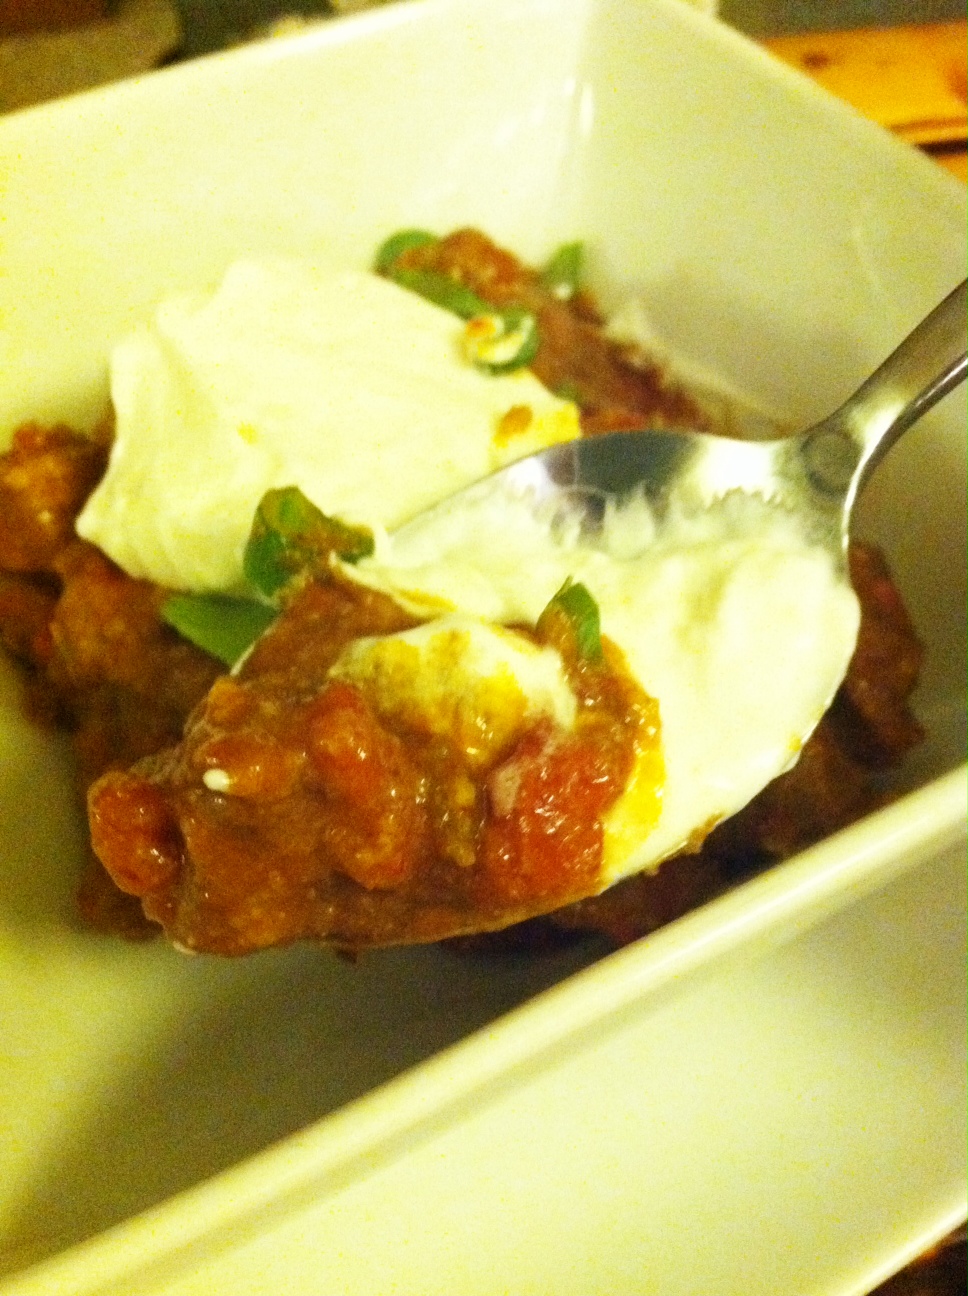
- In a large heavy pot, heat oil over high. Add meat and cook, breaking it up with a wooden spoon, until it begins to brown, about 5 minutes. Add onion, carrots, and garlic and cook until meat is browned and onion is soft, about 5 minutes. Season with salt and pepper, add tomato puree, and bring to a rapid simmer. Cook, stirring occasionally, until liquid is slightly reduced, about 15 minutes. Season with salt and pepper.
Casserole:
Ingredients:
- 1/2 cup fresh breadcrumbs
- 1/4 cup grated Parmesan (1 oz)
- 2 tbsp Olive Oil, divided
- meat sauce (recipe above)
- 1/2 cup long-grain white rice
- 1/2 medium yellow onion, thinly sliced lengthwise
- 2 zucchini or yellow squash, very thinly sliced
- salt and pepper
Directions:
- Preheat oven to 475 (Fahrenheit). Combine breadcrumbs, Parmesan and 1 tblsp olive oil.
- In a large cast-iron skillet, bring meat sauce to a rapid simmer over high. Stir in rice and remove from heat.
- Top with onion, then carefully arrange zucchini/squash in a single, slightly overlapping layer. Season with salt and pepper, drizzle with remaining tbs. olive oil and top with breadcrumb mixture. Return to heat and bring to simmer.
- Cover with foil and bake 10 minutes. Remove foil and bake until rice is cooked through and breadcrumbs are golden, about 10 minutes more. Let cool 5 minutes before serving.
*This recipe is adapted from Everyday Food

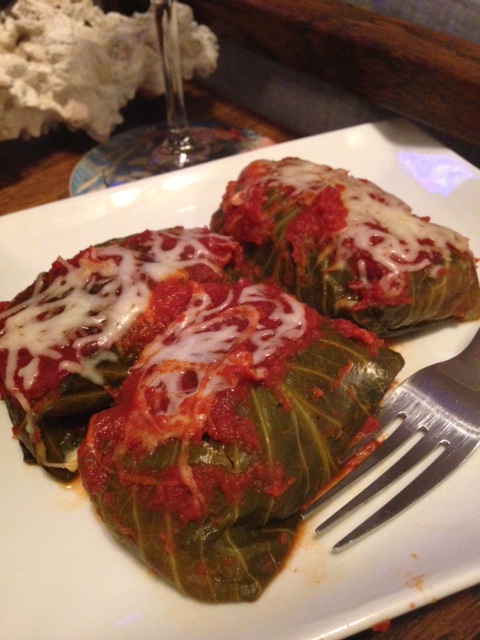
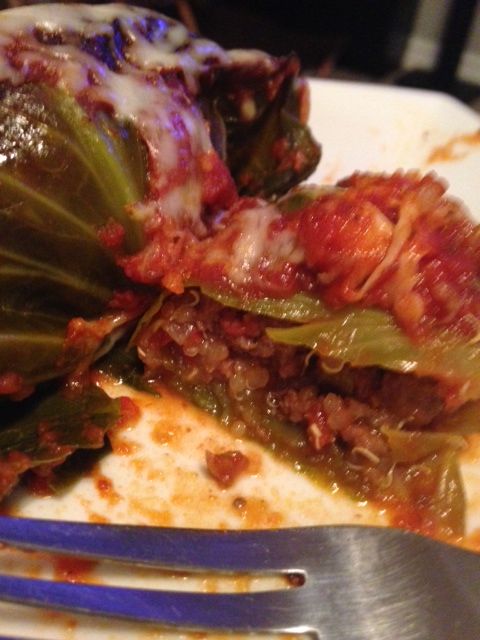
The meat sauce part of this recipe can be adapted and used for anything – on top of pasta, as sloppy-Joe filling, mixed with cheese and stuffed into pasta shells – whatever you want! This is a really perfect recipe for right now because squash and zucchini are still available locally, but it’s still hearty and warm and filling for fall.
Slow Cooker Beef Ragu
Ingredients:
- 1 medium yellow onion, diced small
- 3 cloves of garlic, minced
- 1 small can of tomato paste
- 3 tbs chopped fresh oregano
- 1 beef chuck roast (2-4 lbs is fine)
- coarse salt and pepper
- 1 tbs red-wine vinegar
- 1 tbs balsamic vinegar
Directions:
- In a 5-6 quart slow cooker, combine onion, garlic, tomato paste, oregano, salt and pepper to taste. Season roast with salt and pepper and place on top of onion mixture.
- Add 2 cups of water, cover and cook on high until meat is tender and can easily be pulled apart with a fork, 4 1/2 hours (or 9 hours on low).
- Let cool 10 minutes, then shred meat in slow cooker with 2 forks and stir in vinegar to taste.
This recipe was also adapted from Everyday Food

You could serve the ragu over whatever you liked – rice, pasta, polenta, mashed potatoes. I had originally planned on serving it over spiced and grilled polenta, but then the grocery store by our house decided stocking polenta (and anything else I’m ever specifically looking for) is stupid. So for whatever reason I opted for no-yolk egg noodles instead. Big mistake. I’ve never liked these things and I still don’t. There’s not enough salt in the Dead Sea to make them taste like anything at all, and the texture is slippery and slimy. The ragu was great, but my suggestion is to go to a better grocery store than mine and find some good polenta, or make your own, or make some stiff grits or something besides egg noodles. Seriously, maybe even some wood shavings from the pet store might work better. Just go with your gut.
Taco Bowls
Ingredients:
- Burrito-sized soft tortillas
- Olive oil spray
- 1 lb ground beef
- Taco seasoning
- Refried Beans
- Taco toppings of choice
Directions:
- Preheat oven to 425. Place a cooling rack inside a baking sheet and turn 4 ramekins upside down on the rack. Microwave your tortillas for 15 seconds to make them soft. spray each ramekin with olive oil. Mold tortillas over each ramekin, making them into the shape of a wide bowl. Spray outside of tortillas with additional olive oil.
- Place baking sheet with tortillas into the pre-heated oven very carefully (the ramekins will want to slide around on the rack). Bake for 10 minutes or until golden and crispy. Remove from oven and let cool on the ramekins. Wait until they have cooled to the touch to remove them from their molds. This will ensure they keep their shape.
- Meanwhile, brown your ground beef in a large skillet over medium heat. Drain off fat. Return meat to the burner and add 1/4 cup of water and taco seasoning to taste. Keep on low until tortillas are finished baking.
- In a small saucepan, warm your refried beans until smooth and heated through.
- Once the tortillas have cooled to touch, fill them with your taco accouterments: I like to make the base with refried beans, topped with the beef, then topped with shredded jack or cheddar cheese, taco sauce, diced tomatoes, lettuce, some mashed and seasoned avocado and a dollop of plain, nonfat Greek yogurt (I use this in place of sour cream in everything. The taste is exactly the same, but without the fat and it’s easier on my stomach).


You can make more than 4 bowls at a time, if you need them. I just only needed four and conveniently I only have 4 ramekins. Jeremy and I each ate two bowls (they are smaller than the ones you get at Mexican restaurants, so put your judgey face away). And we had chips and salsa on the side. This is a fun update on taco night.
Taco salads are great until you decide to start eating the shell. The idea seems great and starts out totally civilized. Something like this:

Oh yes, I’ll just take this one little bite of the shell.
Then all of a sudden all hell breaks loose, a tornado sweeps through your taco salad and you’re left with this tragedy:

The horror! The horrooooorrr!
Which is fine, really – it all tastes the same anyways. But if aesthetics is your thing, then just eat the salad portion with tortilla chips or something and save your bowl for decoration or to hold your keys or a hat for a small child or large dog – your call.
So there you have it – local beef three ways. Certainly you could do all of these recipes with beef you buy at the grocery store, that came from a CAFO (Concentrated Animal Feeding Operation), where cows are fed nothing but grain, which makes them sick, which requires them to take antibiotics, which remains in the meat, which over-dosed the entire population with antibiotics so that we all have reduced good bacteria in our bodies so that we are all more prone to sickness so that we all end up having to take more antibiotics like the poor cows before us, which in the long run makes us even more sick, needing more medication and so on and so forth. Again – your call.
Besides that, grass-fed beef has higher omega-3’s, is leaner, often has more protein, and is generally ethically raised. There’s no doubt red meat is not the most healthy thing we can all eat, but if you’re going to eat it (and we all are – the average American eats 110 lbs of red meat every year), then make it the healthiest, most environmentally friendly, ethical meat that you can eat. Cost? Please. Let’s not get into that – just eat your taco bowl and enjoy the grass-fed goodness.